Many businesses deal with international clients and vendors, making it essential to manage transactions in multiple currencies. TallyPrime makes this process seamless with its multi-currency feature, allowing businesses to handle transactions, reports, and balances in different currencies.
Multi-currency entries are mainly use in those companies which deal with the Companies which are located in different- different countries. Multi – currency is used in foreign Exchange transactions.

What is Multi-Currency in TallyPrime?
The multi-currency feature in TallyPrime allows you to:
- Record transactions in different currencies, such as USD, EUR, or GBP.
- Automatically calculate currency conversions based on exchange rates.
- Generate financial reports and statements in multiple currencies.
This feature is especially useful for businesses dealing with exports, imports, or international clients.
Managing multi-currency transactions in TallyPrime is straightforward and efficient. By enabling the multi-currency feature, creating currencies, and setting exchange rates, you can handle international transactions seamlessly.
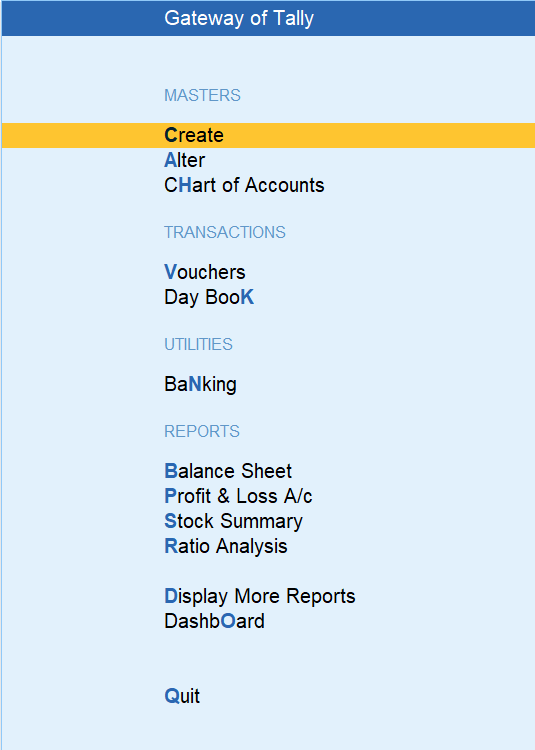
Click on Create
Click on Show More

Create Currencies
After enabling the feature, you need to create the currencies you want to use:
- Go to Gateway of Tally > Create > Currency
- Fill in the details:
- Symbol: Enter the currency symbol (e.g., $, €, £).
- Formal Name: Enter the full name of the currency (e.g., US Dollar, Euro).
- Decimal Places: Specify the number of decimal places (e.g., 2 for USD).
- Save the currency by pressing Ctrl + A.

Click on Create New

Create Your Currency ($ Us Doller), if you are creating first time

Set Exchange Rates
You need to define exchange rates for currency conversions:
- Go to Gate way Of Tally >> Create >> Rate of Exchange
- Select the currency for which you want to set the exchange rate.
- Under Standard Rates, enter the rate for:
- Buying: If you are purchasing goods in this currency.
- Selling: If you are selling goods in this currency.
- Average Rate: For general purposes.
- Save the changes by pressing Ctrl + A.
After Created Currency you will see one more option visible – Rates of Exchange click on it

and now fill here the details of rate of exchange

after it go to voucher

and select sales voucher and make it jut when you enter the rate then enter rate with dollar symbol if you created dollar otherwise what you created select that one
Note Here Rate Amount Must Be In That Form Which Currency Created By You ($) – For Example $300

Here check the rate of exchange and other details

rate of exchange

here you can see amount reflex in both currency

Now see Purchase Voucher
